
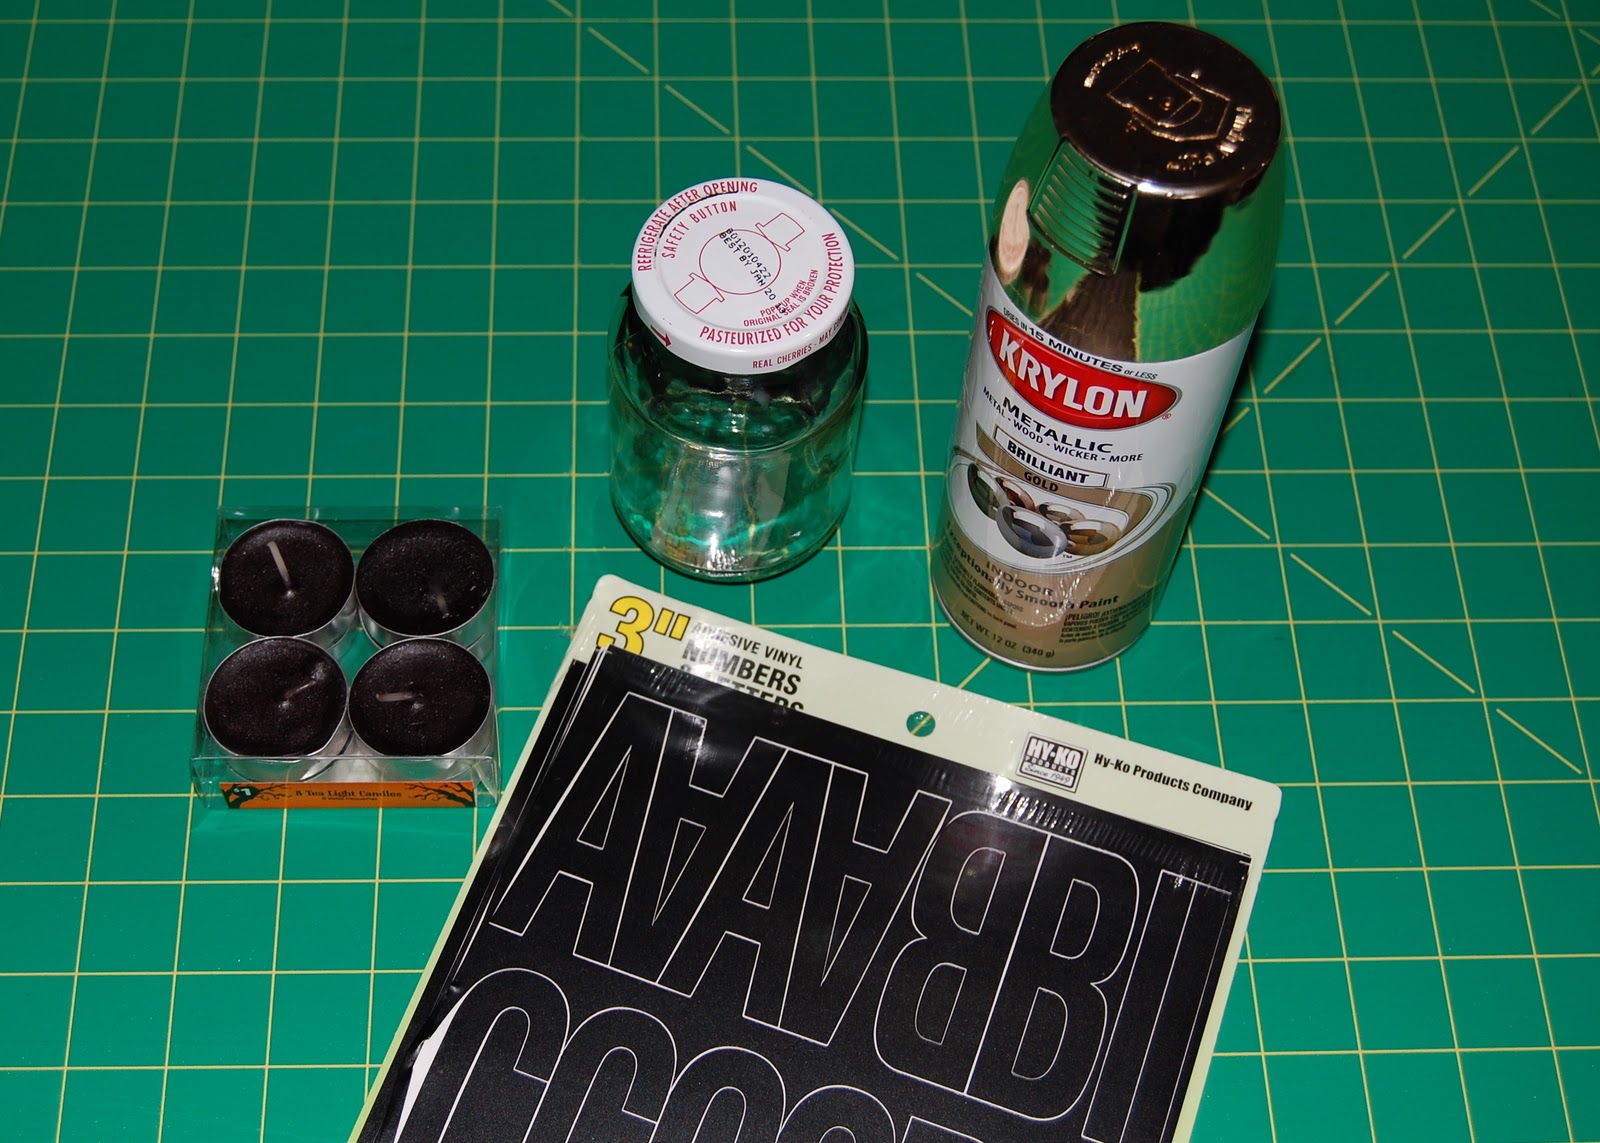
Materials Needed:
- Jar - you can use any sort of glass jar. A mason jar would be great. I happened to have this cherry jar on hand.
- Spray paint - any color. I wanted mine gold so I can use it year after year no matter what my Xmas decor may be that year. You want to make sure you use a spray paint that will adhere to glass.
- Adhesive Vinyl Letters - I found mine in the hardware section at Wal-Mart. They have a couple of different sizes. Be careful which ones you purchase. I saw some that were black letters on a white background. You DON'T want those! You want just the plain letters.
- Tea light Candle - I just purchased these from the clearance Halloween section at Wal-Mart. 75% off = .25 cents baby! Whoop! I may have bought 4 packs.
That's it! First you'll need to make sure your jar is clean and dry. Choose your saying for your jar. I chose the word JOY. Try to choose a short word so that you can see the whole word from the front. Obviously you can fit larger words on larger jars. Adhere your letter vinyl letters to your jar. This is where I wish that I had had a larger jar. My letter curved over the top edge and didn't want to lay perfectly. The sticker buckled and you don't want that. Try to get your stickers as flat as possible and get all of the air bubbles out.

Carry your jar and your spray paint outside or into your garage. Remember this is spray paint and has the potential to get everywhere. Lay down a piece of cardboard or a drop cloth. From about 8-10 inches away, spray your jar in quick bursts. Try not to hold your can in the same area too long or you will get drips. This is glass so it drips a lot faster than wood. I was able to cover my jar in one coat, but if it's not covering as well, wait about 15 minutes and do a second or third coat. When your happy with how it looks wait an hour to dry thoroughly and bring your jar in!

Now you're ready to peel your letters off! GO SLOW! You don't want to peel off any of your paint.

Now this is where I had some trouble. I thought I was done at this point. I place my tea light candle in and when I lit it I decided I didn't like how well you could see the candle. I wanted more of a "glow". I happened to have another type of metallic spray paint. Same brand, metallic, but silver and a matte paint with a different type of spray nozzle. I wanted to use this paint to lightly spray the inside of the jar where the letters are. (no need to spray the whole inside) I didn't think much of it and thought the contrast of color might be neat. The paint came out way faster and in a more concentrated stream. I got drips with my first spray. :( I didn't want to go any further with that, so I switched back to the glossy gold. It made kind of a swirly effect which seemed ok...

...until I lit it.

You can reeeaaally see those dang drips when it's lit. It's not terrible, but the "J" is the effect I was trying to achieve. I also wasn't crazy about the ridges at the top, so I added a little gingham ribbon.


I really like the overall idea of this, but will definitely use my oopsies to make my next one even better! This could be done year round. You could use initials. You could use several that are different sizes and colors and spell a word out to go across your mantle or a bookshelf.
Super cute! Adding it to my list of things I'd love to try!
ReplyDeleteSOOOO cute!
ReplyDelete